
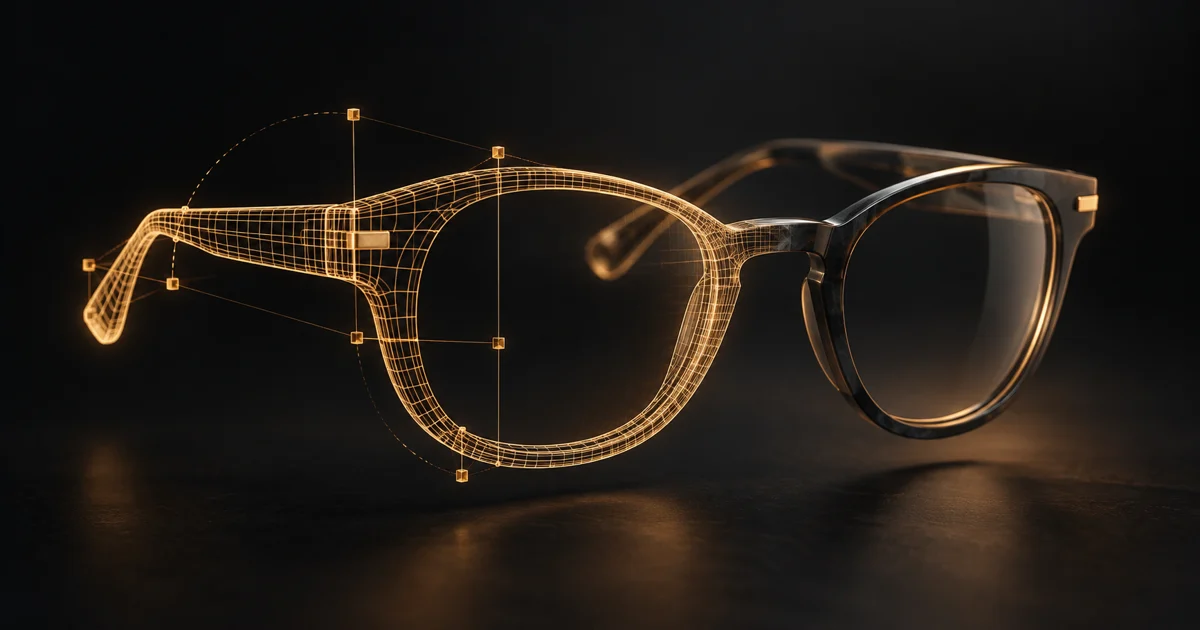
What you can create in 3D Studio
3D Studio helps create an initial three-dimensional version of one object: an accessory, decorative item, furnishing or game prop. Unlike a flat picture, a 3D model can be viewed from different angles and used in compatible software. AI creates the starting form; the manual editor lets you refine that particular result without generating it again.
A 3D model from text, one photo or multiple photos
- From text — when the object does not exist yet or you need a new concept. Specify one object’s shape, material, color and style.
- From a photo — when you have an image of the object. Choose a sharp image showing the entire object, without hands or other objects obscuring it.
- Multiple photos — to show different sides. Upload 2–4 photos of the same object, including the required front view; specify the material and add a short optional note.
Use even lighting, a simple background and the same object configuration in every photo. Transparent, mirrored and very thin details are harder to reconstruct. Multiple images can reveal hidden parts, but do not guarantee an exact match to the original dimensions or geometry.
An example prompt for a 3D model
Start with purpose and shape, then add materials and key details. Avoid combining several different products in one prompt. Text descriptions have a 600-character limit: list important features clearly instead of adding conflicting requests.
Step by step: create a 3D model online in Cormak
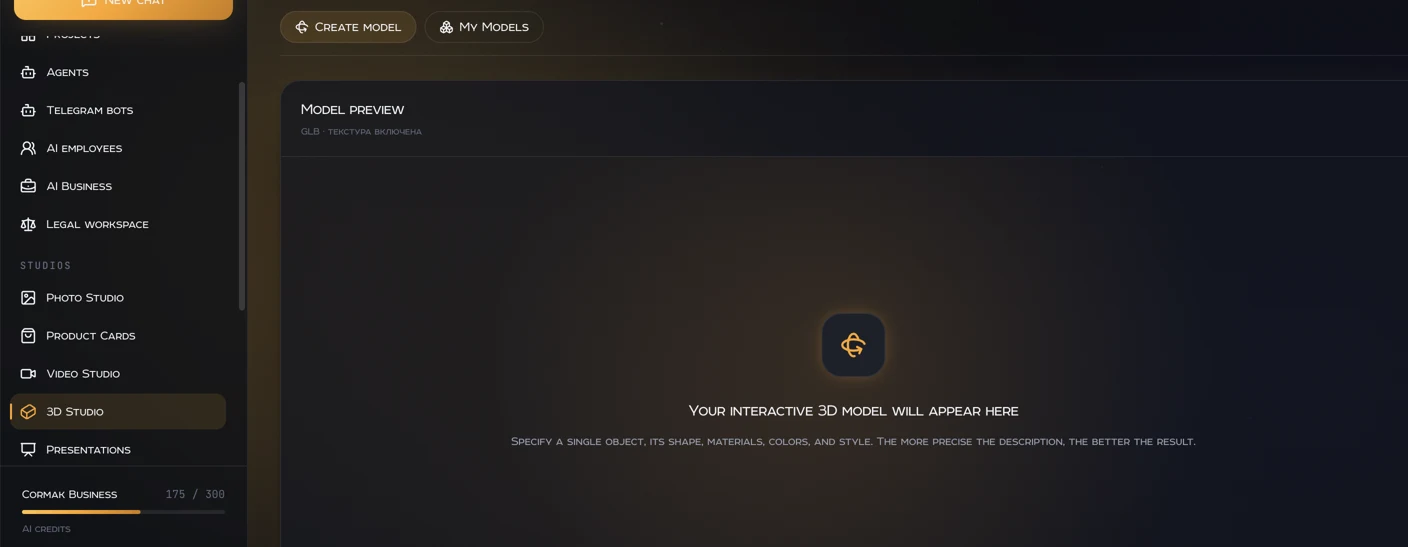
- 1. Open 3D StudioSign in to Cormak and select 3D Studio in the menu. Switch to Create model.
- 2. Prepare a description or photosChoose text, photo or Multiple photos. Describe one object or attach its images; for multiple photos, specify the material and check the front view.
- 3. Start generationCheck the price and available AI credits, then start generation. Wait until processing completes; timing depends on the task and service load.
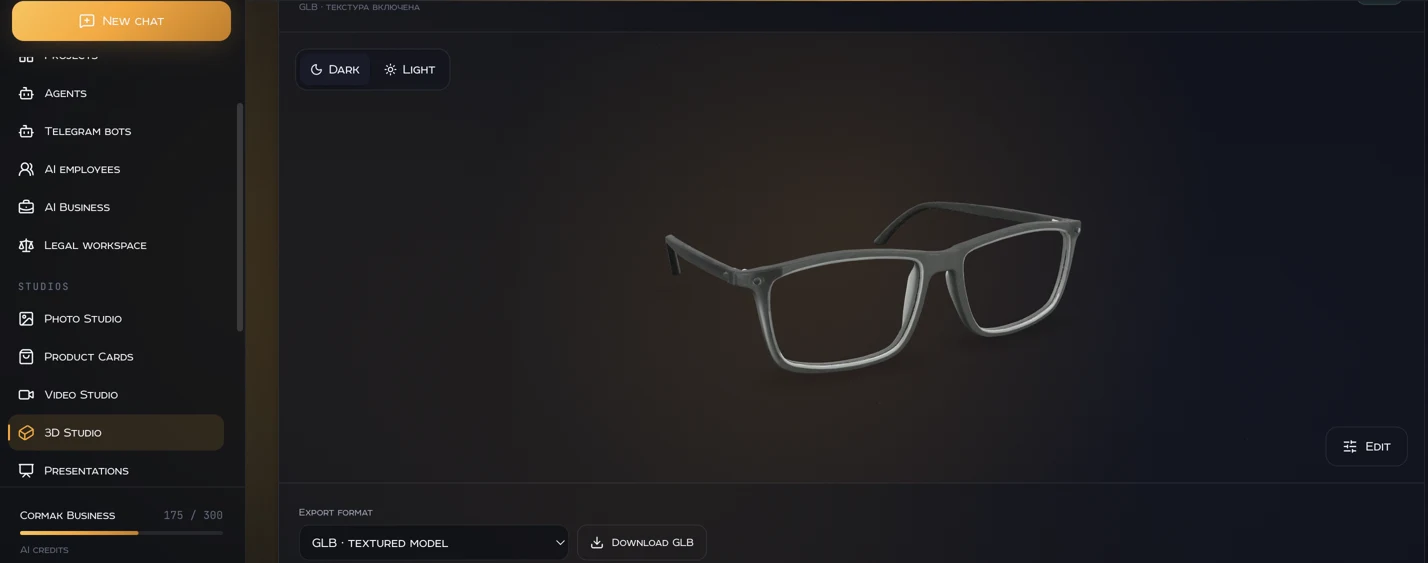
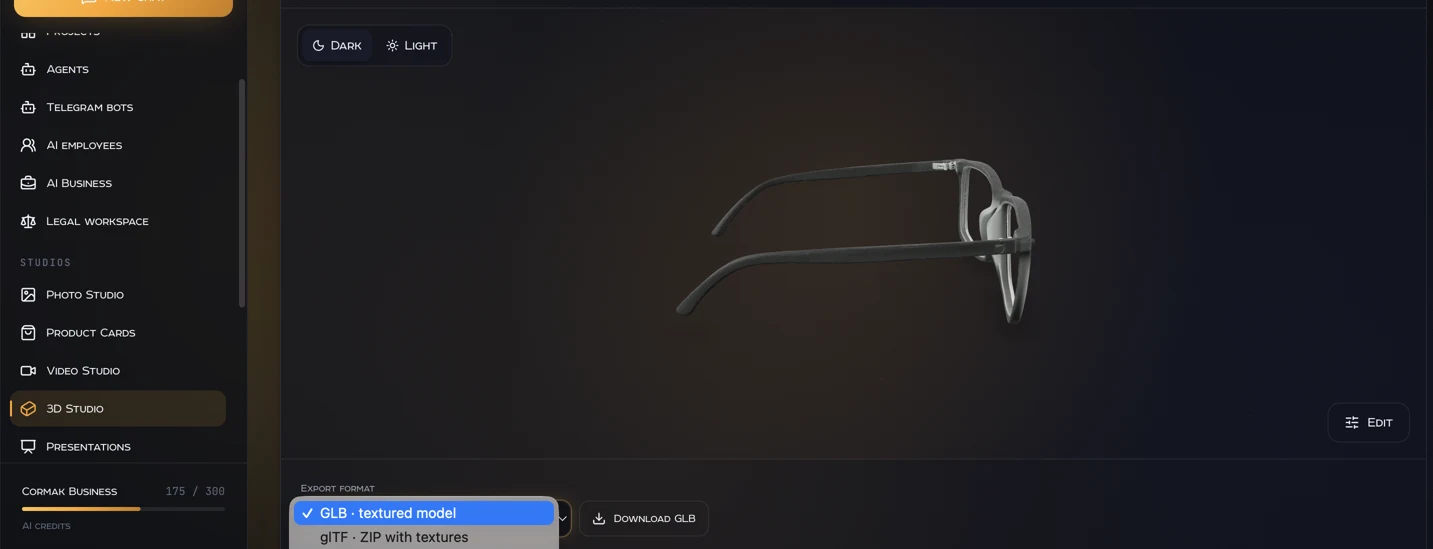
- 4. Inspect every sideRotate the model in the interactive preview and zoom into important details. Switch between dark and light backgrounds. For eyewear, inspect symmetry, the bridge, lens openings and both temples.
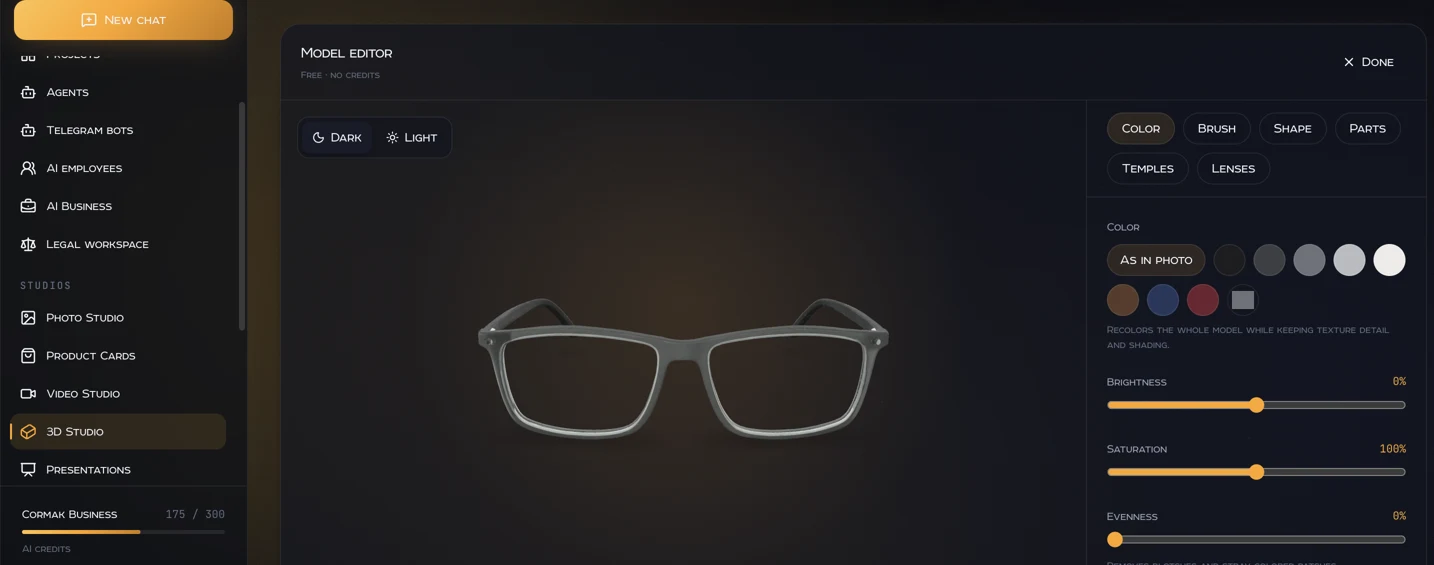
- 5. Open the free editorSelect Edit. Start with color and shape, then use the brush and Parts tab if needed. Recognized eyeglasses frames have additional temple and lens tools.
- 6. Save the version you wantAfter checking the result, save the edit to My models or download it directly from the editor. Saved versions let you return to a chosen variant without generating it again.
- 7. Choose an export formatFor a web viewer, start with GLB; for a collection of files with textures, choose glTF. For print preparation, consider STL, 3MF or AMF and inspect the model in a slicer. Download the selected format.
Advantages of the built-in Cormak 3D editor
The editor’s main advantage is working on the model you already generated, directly in the browser. Changing color, proportions or a part does not require another AI request and another 25-credit generation. You see the edit in 3D and can download the variant you choose.
- Color: repaint the entire model while keeping texture detail and shading; adjust brightness, saturation and color evenness.
- Brush: paint a specific area of a textured surface instead of recoloring the entire object.
- Shape: rotation, proportions and size in millimeters. Check the dimensions you actually need before exporting; AI does not measure the object from a photograph.
- Parts: brush-select an area, then remove, move or rotate it. Useful for unwanted fragments and local changes to a static model.
- Temples and Lenses: additional tools for recognized eyeglasses frames. Availability depends on the geometry; these tabs do not appear for every object.
- My models: save edits as separate versions. You can save up to 20 versions per model; exporting is free.
Download formats: GLB, glTF, STL, 3MF, AMF, OBJ and PLY
- GLB — one model file with textures. A useful first choice for a compatible web viewer and sharing.
- glTF — a ZIP archive with model files and textures. Use it when your application expects separate files.
- STL — triangular geometry without textures or color. Often used for 3D-print preparation; check units on import.
- 3MF and AMF — geometry with explicit millimeter units, without textures or color in the current Cormak exporter. Choose according to your software’s support.
- OBJ — a ZIP containing OBJ, MTL and base-color textures, with simplified materials. PLY — geometry without textures or color.
What to check before using or 3D-printing the model
Compare front, side and back views. Check for unwanted surfaces, missing details, asymmetric shapes and texture seams. Set the required scale and test an import into the target application; material and transparency support can differ.
Common mistakes in photo-to-3D and text-to-3D workflows
- Several objects in the photo: isolate the one you want and show it entirely.
- Conflicting views: use pictures of the same object in the same configuration.
- A vague prompt: instead of “beautiful glasses,” specify rim shape, material, color and temple position.
- Regenerating just to change color: try the free Color tab first.
- Expecting textures in STL: use GLB or glTF when you need materials and color.
Start with one simple object, inspect the generated model and make small editor adjustments. This makes it easier to understand the result of your prompt or photo set and choose the right export for your project.